Read dough expansion, aeration, strength and temperature together. A container mark is useful evidence, but no single rise percentage fits every dough.
- Bulk fermentation is the first fermentation of the mixed dough.
- Choose a consistent container and observation method.
- Use the dough’s history to interpret what you see.
What bulk fermentation is meant to describe
Bulk fermentation is the stage when the mixed dough develops before it is divided and shaped. In a one-loaf recipe, it is still called bulk because the dough remains in its undivided mass. King Arthur's explanation describes this period as a combination of fermentation and dough development, with observations that help the baker judge when to move on. The endpoint belongs to the complete recipe, including what happens during shaping and the later proof.
Read the recipe's sequence carefully before starting your timer. Some methods include an initial rest after the starter has been added; others rest only flour and water before inoculation. Fermentation does not wait for a heading labeled 'bulk' if the starter is already in the dough. In your notes, record when starter was incorporated and when mixing finished. Those timestamps make it possible to understand the process later without arguing over an undefined starting point.
Replace a universal target with a recipe-specific question
The practical question is whether this dough has developed enough for the next step in this method. It is not whether every sourdough must double, jiggle, or finish in a certain number of hours. A recipe's flour blend, hydration, starter contribution, mixing method, and later proof all shape the context. Start with the recipe's own guidance and record what the dough looks and feels like when you apply it.
Avoid borrowing a rise percentage from another method while keeping the rest of your recipe unchanged. A percentage without its conditions is incomplete information. If the recipe asks for a particular increase, note how you will measure it and what other cues it supplies. If it gives only an approximate time, use that time to plan observations and consult its fuller instructions. Do not silently replace uncertainty with a number that seems more precise.
Establish a baseline before looking for progress
Put the dough in a suitable covered container and record its initial appearance after the recipe's mixing stage. Note whether it is rough or smooth, spread out or gathered, and how its surface sits relative to a marked level. A photograph from the side and another from above can be useful if you take later photographs from comparable positions. Without a baseline, it is easy to call a dough 'much bigger' based only on expectation.
Be consistent about the moment you mark the level. Folding or moving the dough changes its shape and can alter apparent height without representing a matching change in fermentation. If you use a new mark after a handling step, label it clearly instead of erasing the history. Your goal is an interpretable sequence, not a perfect curve. A few honest observations in the same vessel are more valuable than a calculated percentage with an unknown starting point.
Measure expansion only as well as the container allows
In a straight-sided vessel with an approximately level dough surface, height change can serve as a practical estimate of volume change. If the starting height is 4cm and the later height is 6cm, the calculated increase is (6−4) ÷ 4 × 100 = 50%. Reaching 8cm would be a 100% increase, or twice the starting height. These are geometry examples, not recommended endpoints for your dough.
In a bowl that widens toward the top, the same height calculation does not give the same volume increase. An uneven or domed surface adds further uncertainty. You can still use consistent visual descriptions, but avoid reporting 'exactly 50%' from a container that cannot support the claim. Marked volume graduations, when suitable for the dough and vessel, may help. Record your measurement method so a future comparison does not confuse a rough visual estimate with a direct volume reading.
| Starting height | Later height | Calculated height increase |
|---|---|---|
| 4cm | 5cm | 25% |
| 4cm | 6cm | 50% |
| 4cm | 8cm | 100% — double the starting height |
Look for aeration across the dough
As the dough develops, observe bubbles visible through the container and changes at the surface. Their presence provides context for the rise measurement, but a few large bubbles are not a complete endpoint test. A small number of dramatic pockets can draw attention away from the rest of the dough. Record the overall appearance and whether it differs from the previous check instead of counting bubbles as though each one represented a fixed amount of fermentation.
When your recipe describes a lighter or more aerated mass, relate that language to what you can observe without repeatedly disturbing it. A gentle movement of the container may reveal how the dough moves, but the amount of movement also depends on consistency and container shape. A wet dough and a firm dough will not display an identical wobble. Keep the cue attached to the formula rather than turning a video of another baker's dough into a universal visual standard.
Treat strength and fermentation as related observations
King Arthur's bulk-fermentation guide considers expansion alongside smoothness, elasticity, and strength. A dough that rises but cannot tolerate the next handling step presents a different problem from one that is strong yet shows little development. Notice how it behaves during the handling your recipe already requires. Does it hold together, stretch with resistance, or spread quickly afterward? Record those descriptions without assuming that one sensation identifies a single cause.
The word 'sticky' is particularly incomplete. It can describe a recipe's normal wet consistency, a handling technique, or a dough that has changed substantially during the process. Note when the stickiness appeared and what else changed. 'Sticky from the first mix' and 'became much looser after a long rest' are different histories. That distinction helps you choose a useful next comparison instead of automatically adding flour whenever dough feels unfamiliar.
Use folds as part of the method, not as a rescue reflex
Follow the chosen recipe's approach to folding or other dough development. Folds can strengthen a suitable wheat dough, but more sets are not automatically better, and the same approach does not apply identically to every flour or bread style. Observe during planned handling, then allow the rests the method calls for. Avoid continuously pulling at the dough in an effort to obtain a particular photograph or texture.
If you add unplanned handling, record it. An extra fold, a transfer to another vessel, or vigorous degassing changes the observation context. Do not compare the level immediately after handling with an undisturbed earlier level and interpret the difference entirely as fermentation. For a repeat bake, keeping handling consistent makes the observations more useful. You can then change a specific part of the method deliberately rather than accumulate adjustments that are impossible to separate afterward.
Record dough temperature rather than guessing from the room
Temperature belongs in the interpretation of timing. A room reading does not necessarily describe the dough immediately after mixing, particularly when ingredient temperatures and mixing conditions differ. King Arthur's dough-temperature discussion explains why bakers track this variable to improve consistency. If you have an appropriate thermometer, record the actual dough temperature with a timestamp and identify any later change in location.
Do not fill an unmeasured temperature field with a preferred target. Write 'not measured' and keep the room conditions as a separate observation. Likewise, moving a container beside a warm appliance does not establish a known dough temperature. For useful comparisons, distinguish the temperature you intended, the temperature you actually read, and a qualitative description such as 'cooler room than last time.' This keeps an apparently precise fermentation log from being built on guessed inputs.
Understand the limits of a small sample jar
Some bakers remove a small dough sample and mark its rise in a narrow container. This can create a convenient visual record, but the sample is still a proxy for the main dough. Its temperature may change differently, and it does not necessarily experience the same handling. If you use this approach, record when the sample was taken, where it was kept, and which starting level you marked.
Use the sample reading alongside direct observation of the bulk dough. A 50% rise in the sample means the sample reached that marked change under its conditions; it does not independently prove the entire batch reached the correct endpoint for every recipe. Consistency matters more than elaborate marks. Changing the sample size, vessel, sampling moment, and storage place at the same time makes its readings difficult to compare between bakes.
Make a decision from several observations
At a planned check, read the recipe's cues and review the dough's progression. Consider measured or estimated expansion, visible aeration, behavior during the specified handling, and temperature context. If the dough has changed little and the method's criteria are not met, another observation may be more appropriate than advancing simply because the estimated time has passed. If it appears much further developed than expected, do not continue waiting merely to satisfy a target duration.
This is a judgment process, not a checklist that can certify every dough. When cues conflict, describe the conflict. 'Rise target reached, but handling unexpectedly weak' is a useful note. It avoids compressing several observations into the unhelpful label 'done.' Follow the recipe's guidance for the immediate decision, and use the discrepancy to choose what to investigate on the next bake. Changing many ingredients midway rarely clarifies what happened.
Compare two hypothetical batches carefully
Imagine Batch A and Batch B using the same written formula and marked container. Batch A reaches the recipe's expected appearance after one interval; Batch B takes longer. If Batch B began cooler, the different duration cannot by itself prove its starter was inferior. If the temperature was not measured, that explanation remains a possibility rather than a finding. The log should preserve what is known instead of selecting a convenient cause.
Now imagine both batches show similar expansion, but Batch B received several extra handling steps. Their texture differences are not a clean test of fermentation duration alone. For the next comparison, keep the handling schedule consistent and record the dough temperature. These hypothetical examples illustrate a simple rule for useful learning: a difference in outcome is an observation; the explanation for it needs enough controlled context to be credible.
Connect bulk to the finished loaf without overdiagnosing
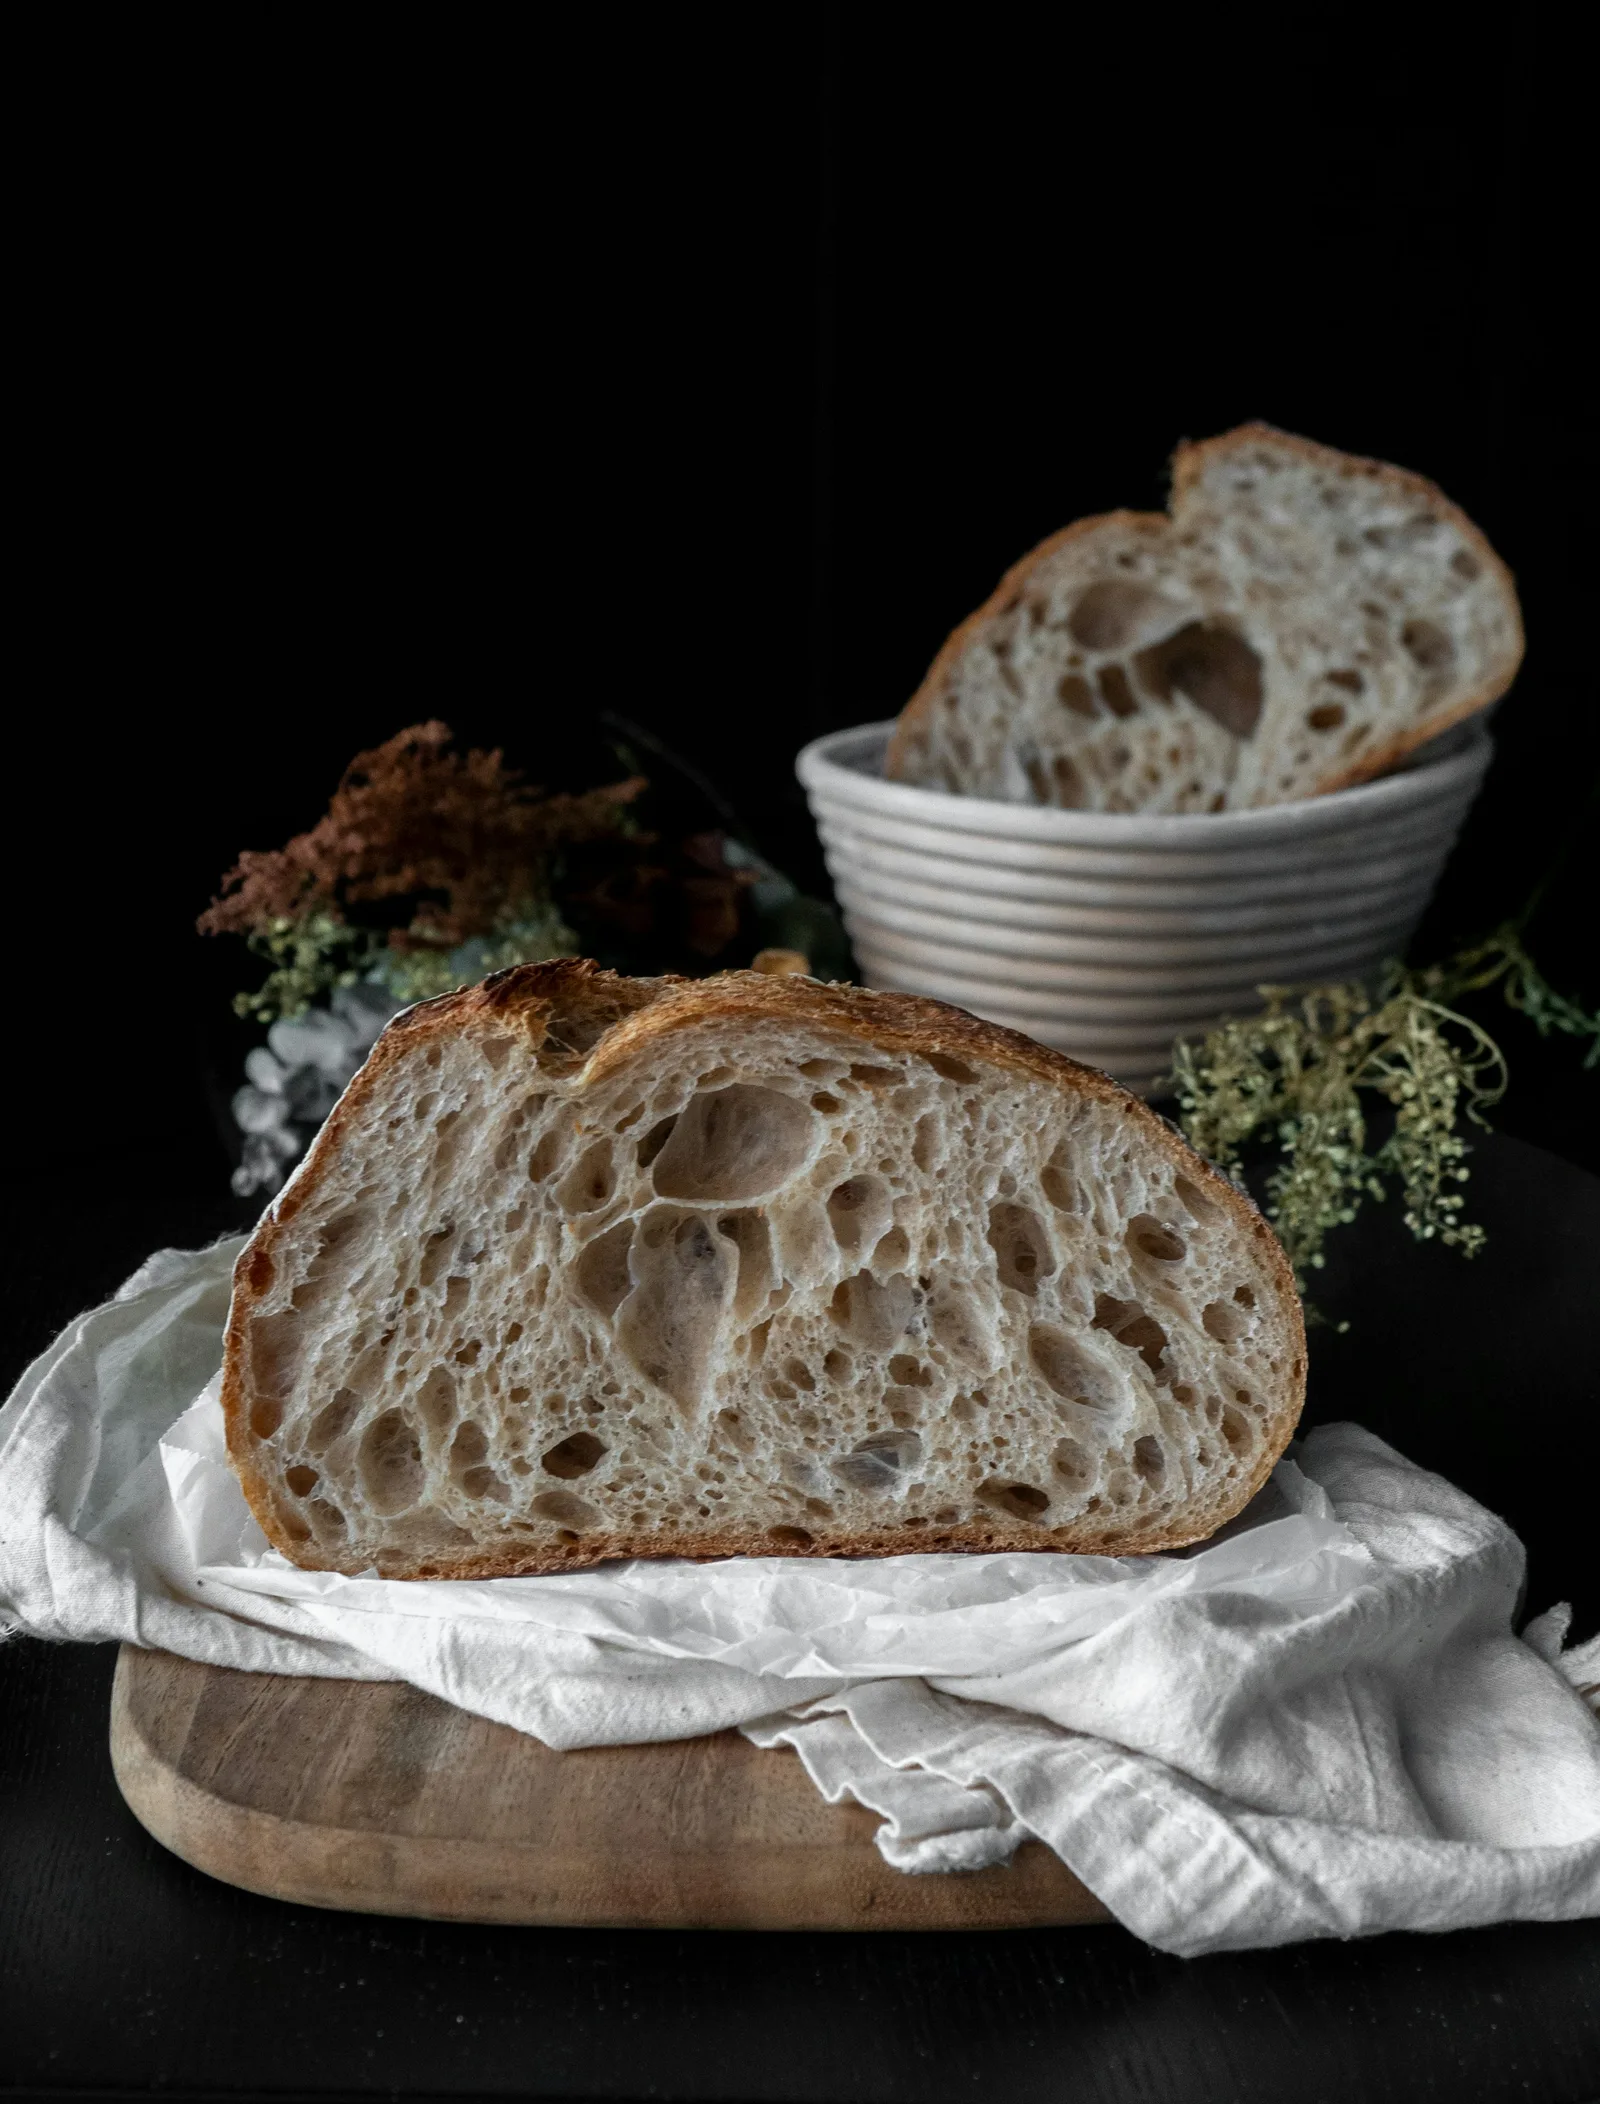
Keep the observations from bulk alongside shaping, final proof, and baking notes. A finished crumb reflects the entire process. A dense area, uneven holes, or a flat profile can prompt investigation, but a single sliced-loaf photograph does not uniquely identify where the process changed. Do not rewrite your bulk notes after seeing the loaf so that they fit the explanation you prefer. Preserve the original observations and add your later interpretation separately.
For the next bake, choose one question. Perhaps you want a clearer rise measurement, a recorded dough temperature, or more consistent handling. Repeat the same formula while improving that observation. Over time, you can develop a recognizable endpoint for that recipe in your conditions. That is a more dependable aim than memorizing one clock time or one percentage and forcing every dough to match it.
Sources & further reading
This guide combines published references with our own explanations and decision aids. Numerical examples are illustrative; they are not records of Sourdough Bench test bakes.
Put it into practice.
Keep the recipe, observations and next change together in your downloadable bake log. For a symptom-led starting point, use the loaf troubleshooting guide.