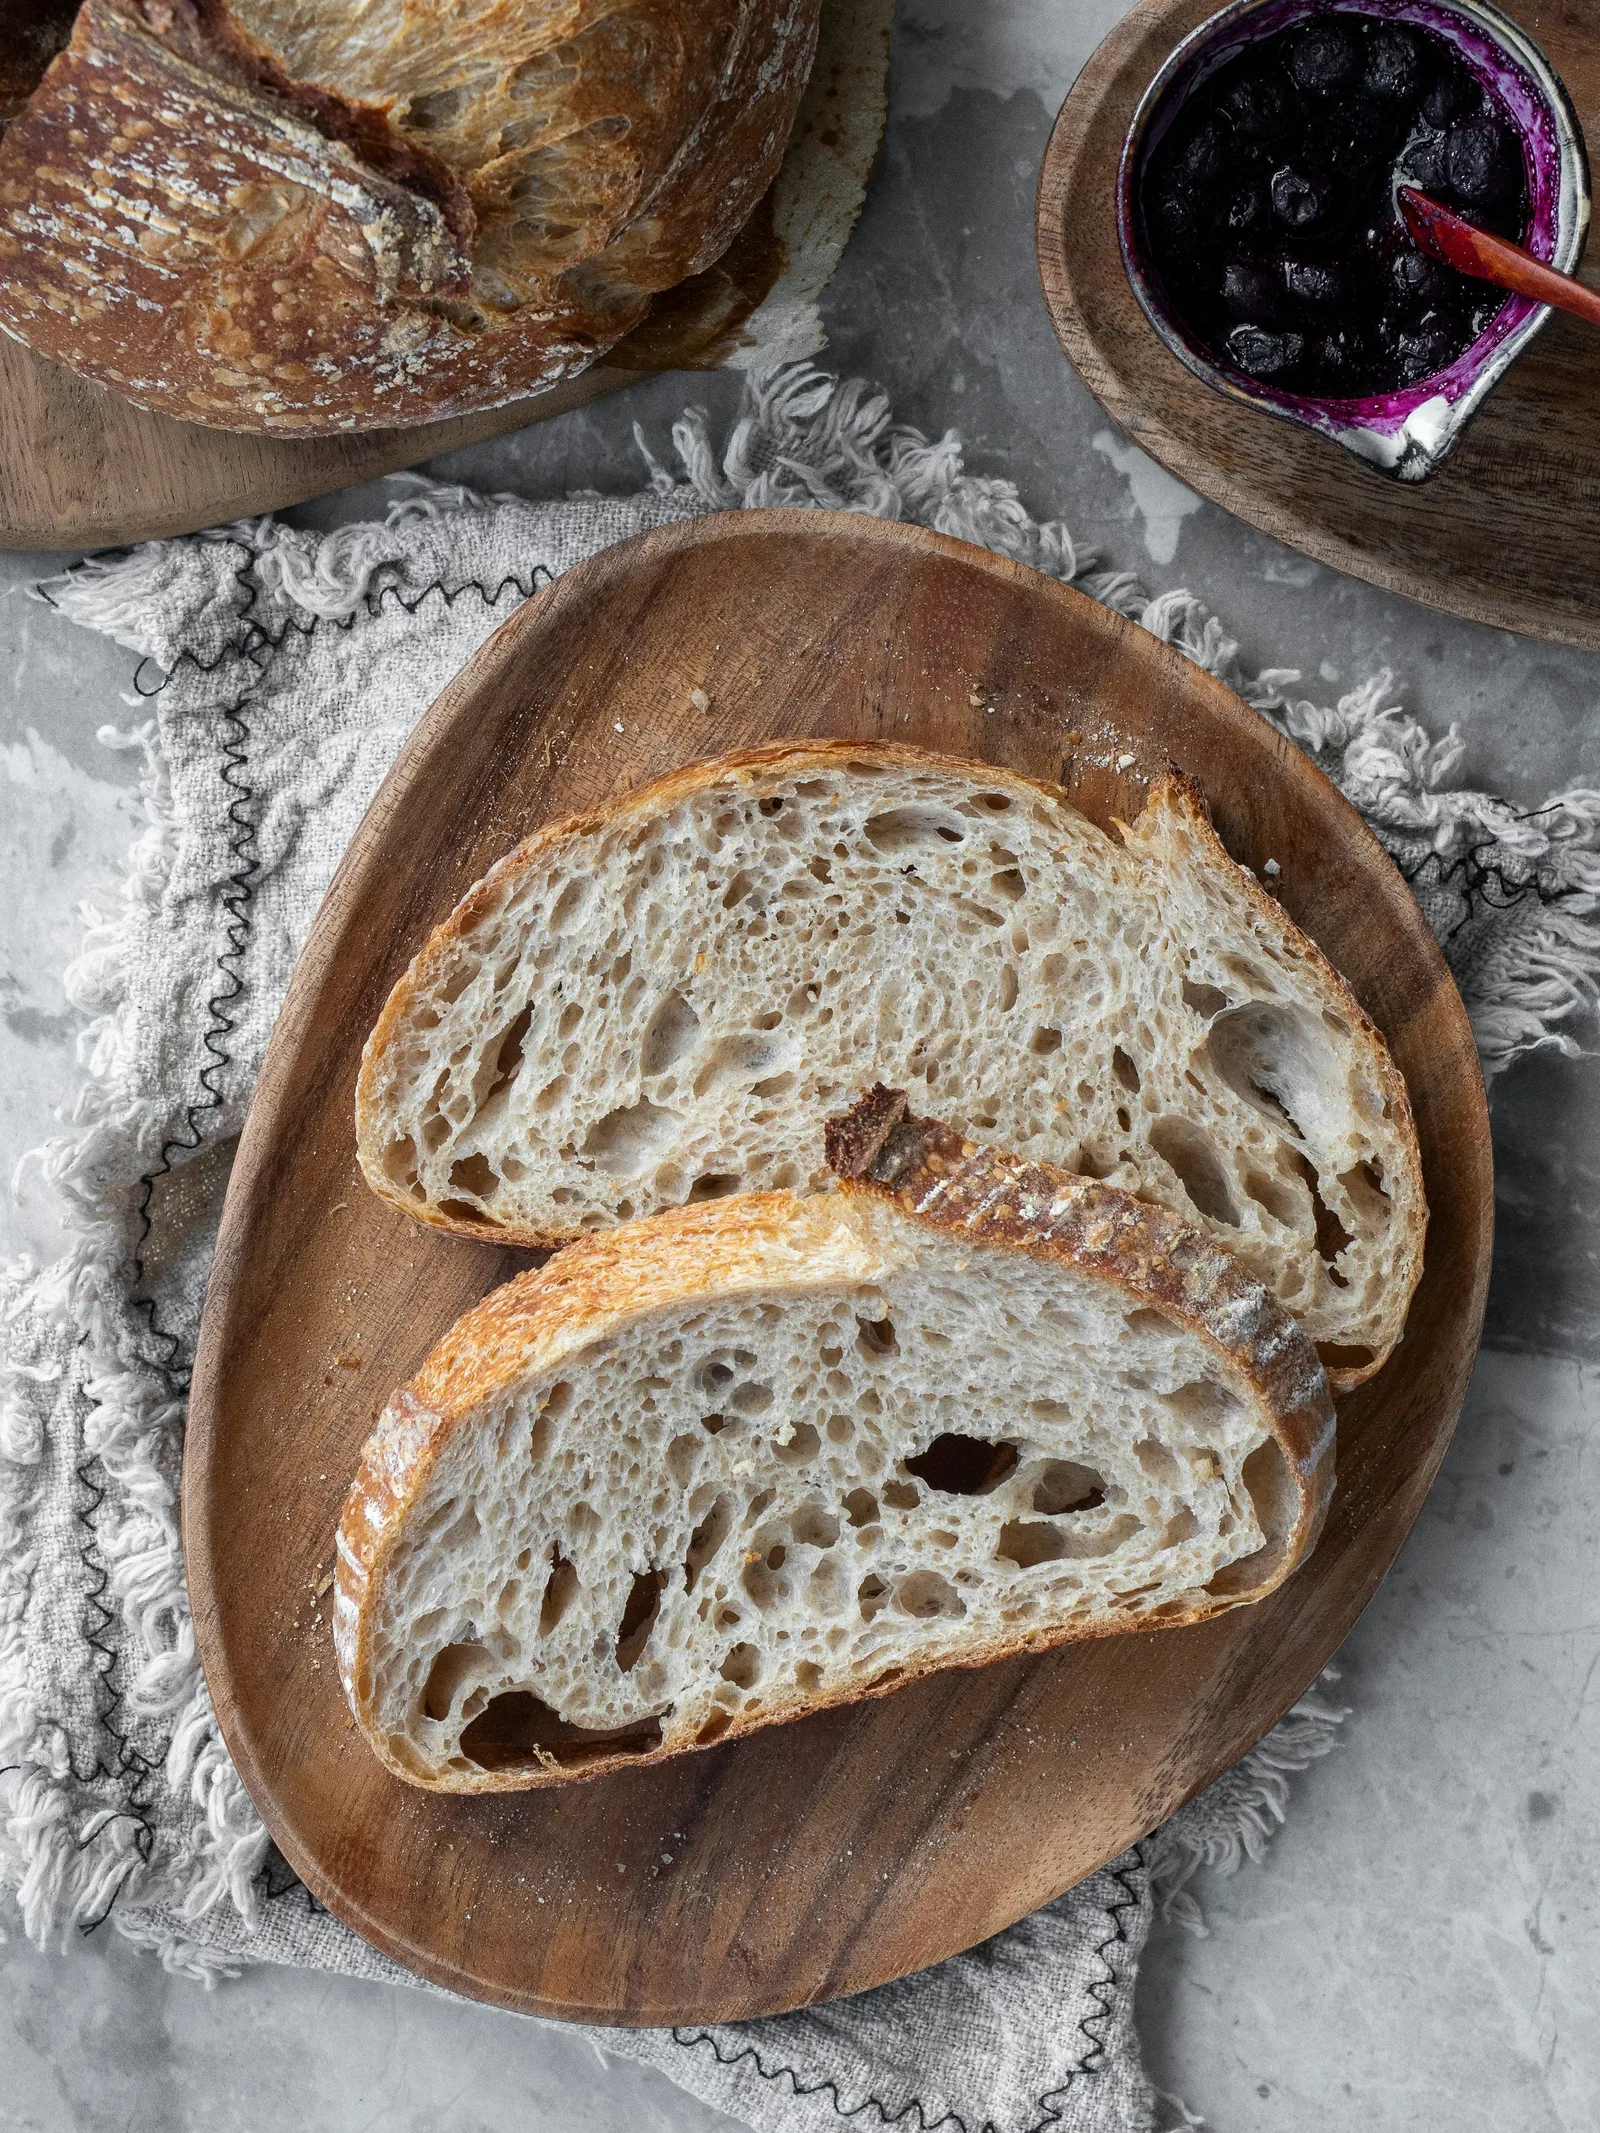
Record enough about ingredients, temperature, timing and the finished loaf to compare one deliberate change on the next bake.
- Write measurements separately from impressions.
- Keep a formula and a process record together.
- Choose one next experiment from the evidence.
A bake log should answer the next question
You do not need to record every minute of bread making. A useful log preserves enough information to repeat a result or investigate one difference next time. Start with a specific purpose: remembering a formula, understanding an unexpected schedule, comparing two hydration levels, or tracking starter preparation. If the log collects dozens of measurements without helping you decide what to do next, simplify it until its purpose is clear.
Choose a format you can reach with flour on the counter: a notebook, a printed sheet, or a simple note on your device. The format matters less than consistent labels and a place for actual observations. A polished template filled from memory three days later is less useful than a brief note written during mixing. Begin with one page per bake and keep optional detail separate so the essential record remains easy to scan.
Give each bake an identity and a source
Use a date plus a short batch label, especially if you make two doughs together. Record the recipe title, source link or book page, and any version information. Saving only 'usual loaf' assumes you will remember which version was usual at the time. If you scale or alter a formula, keep the original reference and write the change beside it. This lets you distinguish a faithful repeat from an adaptation.
Add the intended use of the loaf when relevant. A sandwich loaf, a free-standing round, and a batch made primarily to compare flour need different judgments about success. A log should not force all bread into a contest for the largest holes or tallest profile. Write the outcome you wanted before baking. That prevents an attractive photograph from redefining the goal afterward and helps you recognize a practical success even when the loaf looks different from an online example.
Record actual ingredients, not only intended ingredients
Copy the gram weights you actually added. If you overshoot the water by 8g, preserve that fact instead of leaving the planned quantity unchanged. Include flour types and meaningful blend proportions, starter weight and hydration, salt, and any additions. For a mixed flour, identify the products well enough to buy or compare them again. You do not need a biography of every ingredient, but 'flour' alone may hide a substantial change between bakes.
Keep final-mix additions separate from overall totals that include the starter. For example, 200g of 100% hydration starter contains 100g flour and 100g water under the standard accounting model. If you add 400g flour and 250g water, overall flour is 500g and overall water is 350g, giving 70% hydration. Label which convention you use. The arithmetic remains understandable when both the ingredient list and the complete dough totals are available.
Attach a compact starter record
Write the seed weight, fresh flour, fresh water, feed time, flour blend, and known seed hydration. Include the observed state when you used the build. This is more useful than a lone entry saying 'active starter.' If the culture came from refrigerator storage, note the preparation method and any uncertainty in its recent care. You are documenting an ingredient's history, not trying to score it with a universal readiness rating.
A short example label is '24g seed, 98g flour, 98g water; 100% hydration seed; used when rise had slowed.' That is a rounded 220g build, approximately 1:4.08:4.08. Add the real feed and use times during your bake. Do not copy imagined timestamps from an example into the record. If a build requires 200g for dough and 20g reserve, note both destinations so the next entry does not begin with an unexplained leftover quantity.
Choose clear timestamps
Record events that define the process: feed, starter incorporated, mixing finished, planned folds, division or shaping, refrigeration if used, oven loading, and removal. You can omit events that do not matter to your chosen question, but define the ones you keep. 'Start' is ambiguous unless the log says what started. If a recipe includes a rest before the starter is added, distinguish that rest from the later fermentation period.
Use one time format consistently and include the date when a stage crosses midnight. Write actual times beside planned times rather than overwriting the plan. A difference between them may explain why the dough reached a different state. When you miss a timestamp, mark it as approximate or unknown. An invented exact time makes the page look complete while reducing its usefulness for comparison. Honest gaps help you choose what to observe more carefully next time.
Keep measurements and impressions in different fields
A thermometer reading, a weighed ingredient, and a subjective impression are different kinds of information. Label them accordingly. 'Dough 24°C at the end of mixing' is a measurement. 'Room felt warmer than last week' is an impression. Both can be useful, but they should not be merged into a precise temperature history. King Arthur's discussion of dough temperature shows why this variable matters for consistent fermentation planning.
The same distinction applies to rise. 'Height from 4cm to 6cm in a straight-sided container' supports a calculated 50% height increase. 'Looks about half again as large in a rounded bowl' is a visual estimate with different uncertainty. Record the vessel and method when the number will matter to your comparison. You do not need laboratory equipment; you need labels that keep the record from claiming more accuracy than your observations provide.
Describe dough behavior with concrete language
Write what you saw or felt during the handling the recipe already required. Useful phrases include 'spread quickly after the fold,' 'held together during shaping,' 'bubbles visible along the lower side,' and 'surface smoother than after mixing.' These descriptions leave room for interpretation later. Labels such as 'bad dough' or 'perfect fermentation' collapse several observations into a verdict and provide little guidance for a future bake.
Attach the description to a time or stage. Dough that was loose immediately after mixing has a different history from dough that became much looser after a prolonged rest. Also record any unplanned action, such as adding bench flour to the dough, performing an extra fold, or moving the container. Those changes can affect the comparison. A log is most useful when it captures the process you actually followed, including the awkward moments you might otherwise forget.
Use photographs to support written observations
Take a small number of purposeful pictures: a marked container at the start, the dough near a decision point, the shaped loaf if shaping is your question, and the finished bread after appropriate cooling. Keep viewing angle and distance reasonably consistent for comparisons. A side photograph is more useful for reading a rise mark than a dramatic overhead shot. Include a label or filename that connects the image to the correct batch.
Photographs cannot replace missing quantities or temperatures. A beautiful crust does not reveal how much water you added, and a crumb image does not uniquely diagnose every earlier stage. Write a caption explaining what the picture documents. If an image is only a record of appearance, say so. This avoids building a confident causal story around a visual detail that could have several explanations and keeps your evidence useful beyond its immediate impression.
Evaluate the bread against your original goal
After the bread has cooled according to the recipe, note practical qualities relevant to your intended use: sliceability, crust preference, crumb texture, shape, and whether the flavor suits you. Keep preference separate from process diagnosis. 'Too sharp for my sandwich preference' is a clear evaluation. 'The starter was wrong' is a causal claim that needs more evidence. There is no need to turn every dislike into a supposed technical defect.
If you assess the bread on more than one day, label those observations separately. Storage time and conditions belong with the later note. Do not compare yesterday's fresh loaf with last week's stored slice and attribute the difference solely to a formula change. A simple record of how the bread was stored helps interpret the comparison. Keep the evaluation brief enough that you will complete it; an unfinished elaborate scoring sheet is less useful than three honest sentences.
Separate observation, explanation, and next action
Use three short lines when something surprises you. Observation: what happened. Possible explanation: what might account for it. Next action: the single change or measurement that would help you learn more. For example, a hypothetical observation could be 'bulk took longer than the previous bake.' A possible explanation is 'dough may have started cooler.' The next action is 'measure dough temperature at the end of mixing next time.' The explanation remains a possibility until supported.
This format prevents a guess from hardening into a rule. It also makes the next bake manageable. You do not have to change starter ratio, flour, water, mixing, and oven temperature together. Often the best next action is to hold the formula steady and improve one missing observation. A log becomes a tool for reducing uncertainty rather than a place to collect confident stories about causes you did not actually measure.
Compare batches without pretending the kitchen is a laboratory
When testing a change, write the question before starting and keep other important conditions as consistent as practical. For example, compare a modest hydration adjustment while using the same flour, starter preparation, batch size, and method. Record any differences you could not control. If one dough receives substantially different handling or spends time in another location, note that the comparison has limits rather than ignoring the inconvenient detail.
One pair of loaves is a useful observation, not a universal result. Repeat a promising change before declaring it your new routine, especially if the first difference was small. Your goal is a method that works for your ingredients, equipment, and preferences. It is acceptable for the conclusion to be 'no clear difference' or 'comparison not useful because several things changed.' Those are valid results that save you from optimizing around noise.
Keep a short template and review it before the next bake
A compact reusable entry needs a batch identity, recipe reference, actual weights, starter preparation, key timestamps, temperature observations, fermentation and handling notes, bake details, and a brief result. Finish with one planned question for the next attempt. King Arthur's illustrated guide to ripe starter shows the distinction between a culture rising and beginning to fall. In a log, recording that visible state alongside the time is more informative than writing only 'ready.'
Before the next bake, read the previous entry first. Carry forward the formula you intended to repeat and the one question you wanted to investigate. Afterward, add what changed and what remains uncertain. Over time, this small habit creates a personal reference that is more useful than an expanding collection of disconnected tips. The log earns its place on the counter when it helps you make the next decision with less guessing and fewer unnecessary changes.
| Field | What to enter |
|---|---|
| Identity | Date, batch label, recipe source and intended result |
| Inputs | Actual ingredient weights and starter preparation |
| Process | Key times, measured temperatures and observations |
| Changes | Departures from the recipe, with reasons |
| Result | Practical evaluation after appropriate cooling |
| Next question | One comparison or missing observation to improve |
Sources & further reading
This guide combines published references with our own explanations and decision aids. Numerical examples are illustrative; they are not records of Sourdough Bench test bakes.
Put it into practice.
Keep the recipe, observations and next change together in your downloadable bake log. For a symptom-led starting point, use the loaf troubleshooting guide.