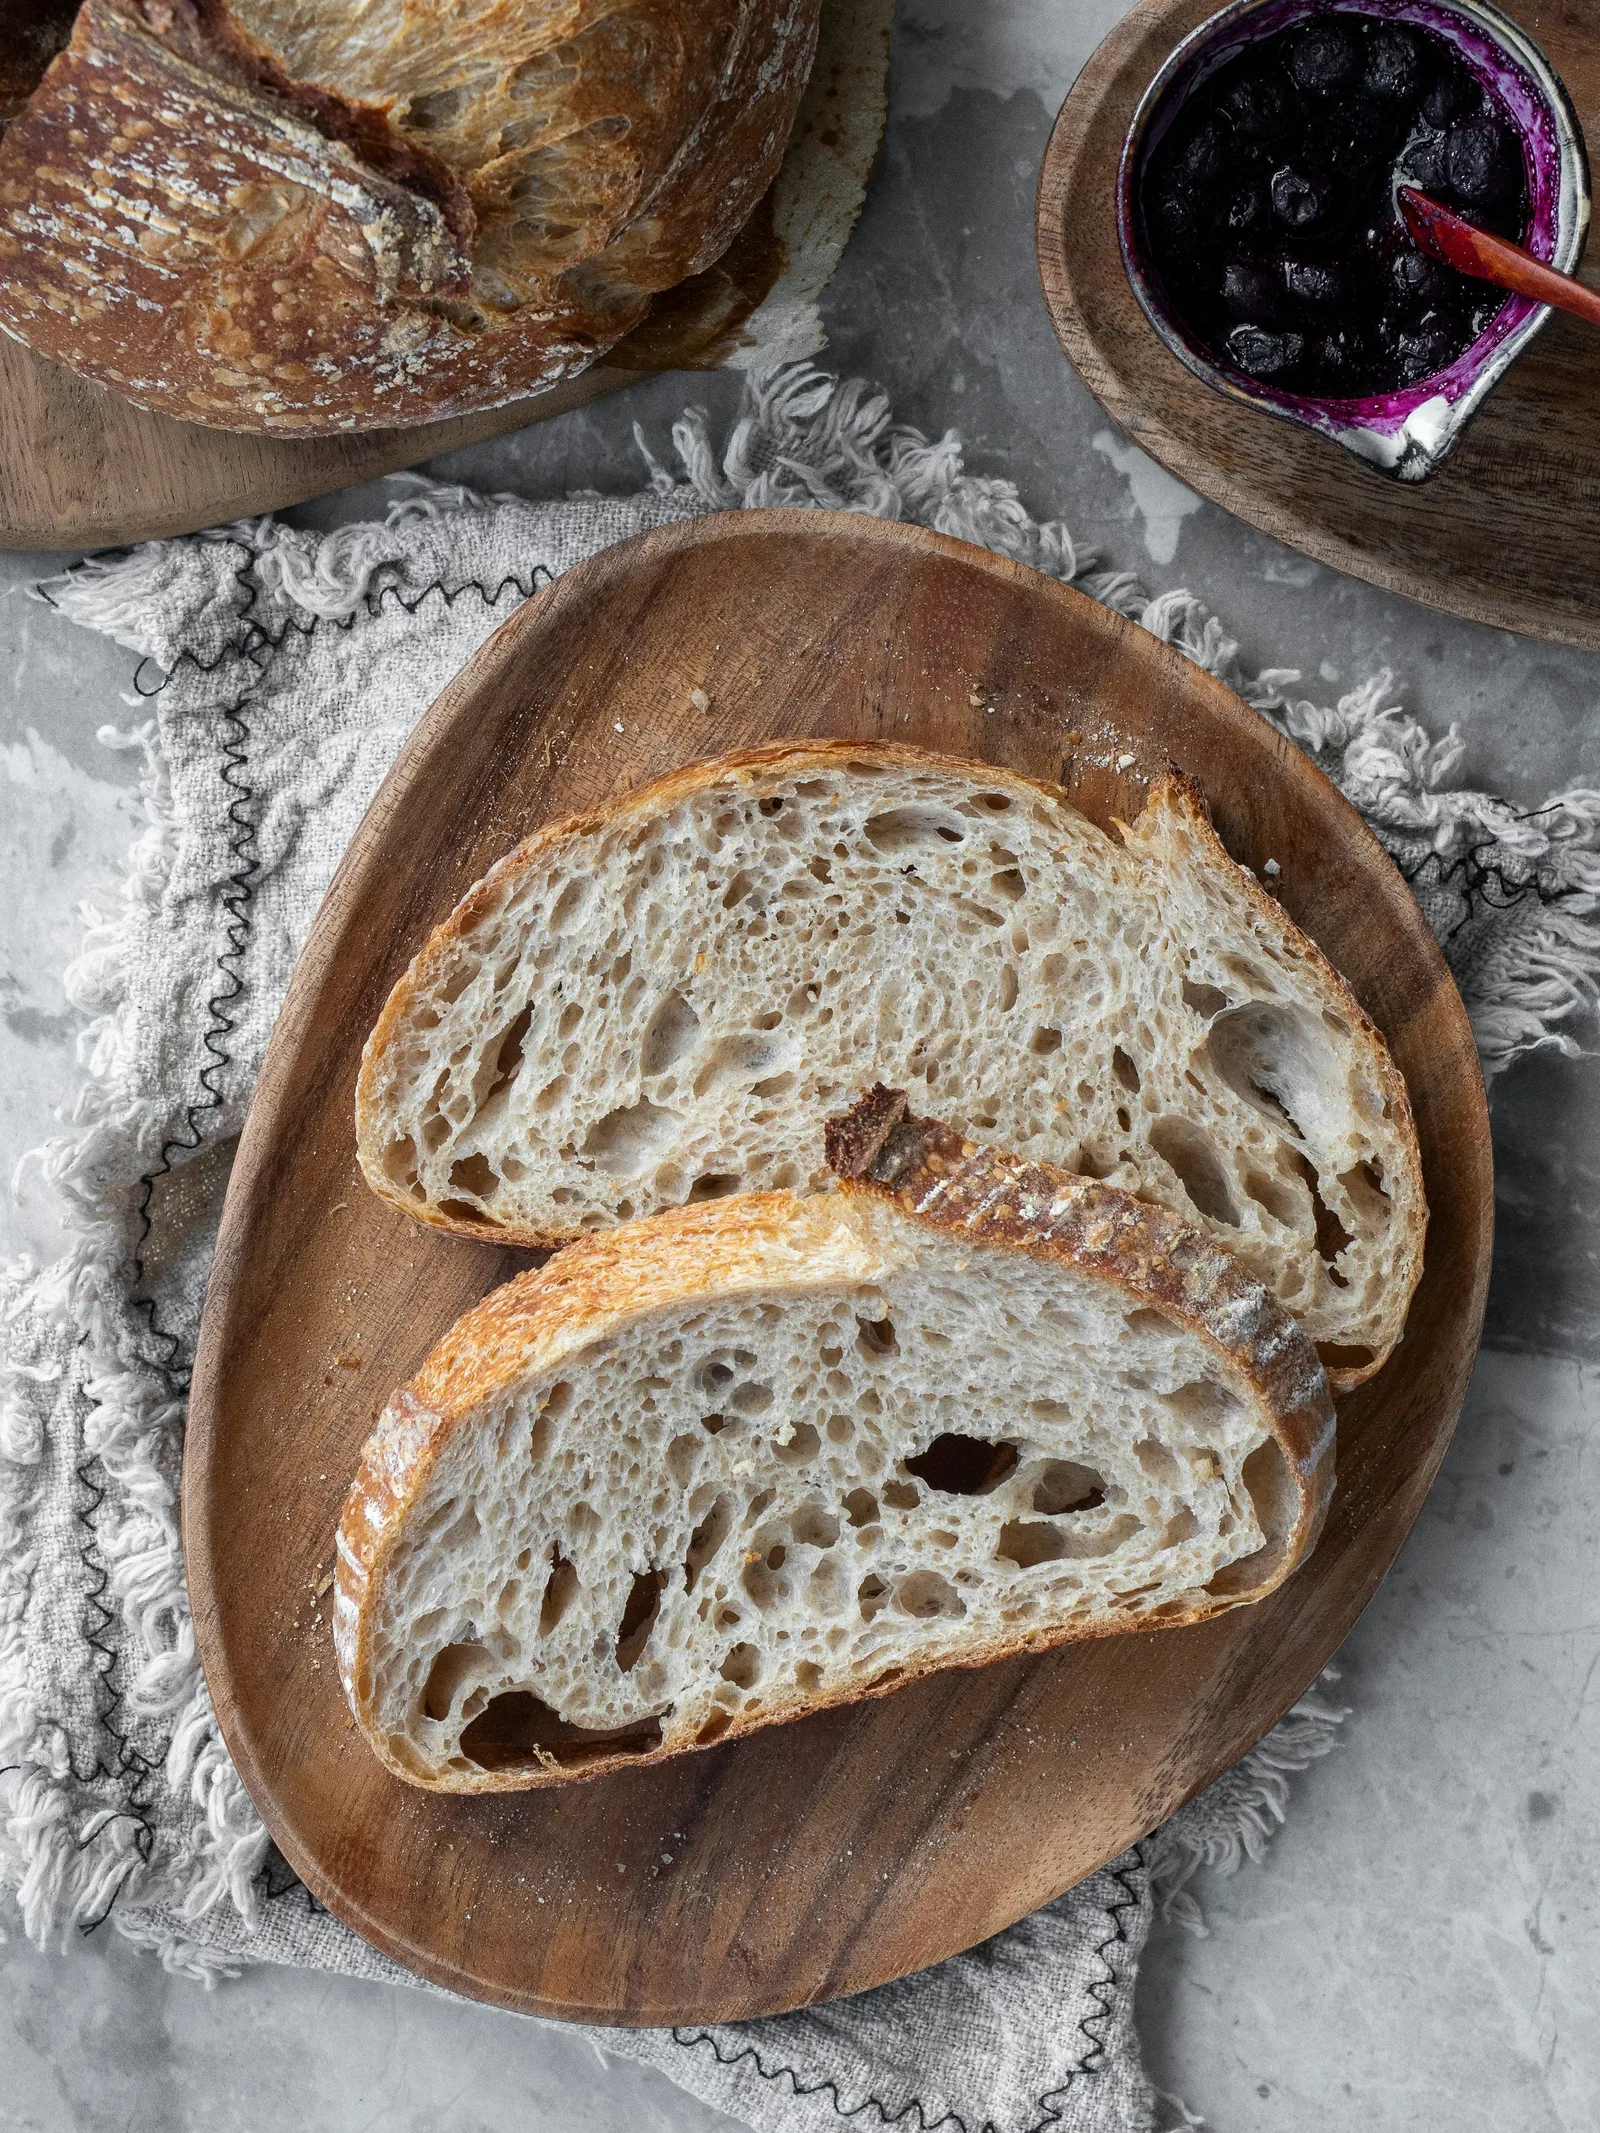
Cold proofing slows a shaped loaf’s fermentation and can make scheduling and scoring easier. Start with a recipe designed for refrigeration, track dough condition and actual elapsed time, and remember that warm dough continues changing while it cools.
- Distinguish cold bulk fermentation from the final proof of a shaped loaf.
- Monitor actual refrigerator conditions and maintain safe food-storage temperatures.
- An overnight interval needs entry and loading timestamps.
- Bake directly from cold only when the recipe and dough condition support that method.
Refrigerate a defined stage, not an unfinished plan
Cold proofing usually means refrigerating a shaped loaf during its final fermentation before baking. Cold bulk fermentation chills the undivided dough earlier in the process. Both appear in published bread methods, but they create different tasks for the following day. A shaped loaf may be close to loading the oven; a bulk dough still needs division or shaping and an appropriate final proof. Label the stage before arranging the rest of your schedule.
For a first attempt, choose a complete recipe that includes refrigeration rather than inserting an overnight delay into an unfamiliar method. This guide focuses on shaped, lean wheat sourdough. Recipes rich in eggs, dairy, fillings, or other perishable ingredients require their own handling guidance. A cold-proof discussion is not permission to ignore those ingredients or to treat an arbitrary amount of time in a refrigerator as a safety or fermentation guarantee.
Treat cooling as a transition
Putting a warm loaf into cold air does not instantly make its center cold. The dough continues changing while it cools. King Arthur's refrigeration guidance specifically cautions that warm shaped dough can progress too far before the refrigerator cools it sufficiently. The practical implication is to record the dough's condition and temperature at entry, rather than treating the refrigerator door as a switch that stops the process at exactly that moment.
Batch size, loaf geometry, container, covering, shelf position, and refrigerator load can all differ between attempts. You do not need to calculate a cooling curve to make these details useful. Record the major changes, such as replacing two small baskets with one large bowl or filling the refrigerator for a holiday. If the result changes afterward, those details give you plausible questions to investigate before changing the starter percentage or shortening the recipe at random.
Measure the refrigerator you actually use
An appliance setting is not a direct reading of the air beside your dough. Use a refrigerator thermometer and follow the appliance's instructions for placement and adjustment. FDA guidance recommends keeping a household refrigerator at 40°F or below and using a thermometer to monitor it. Do not warm a refrigerator containing perishable food merely to make bread rise faster. Maintain suitable food storage first, then choose a baking method compatible with that environment.
Record where the baskets sit, especially if one location behaves differently from another. Avoid drawing conclusions from a single reading taken while the door has been open for several minutes. A typical range observed during normal operation is more informative than an isolated number. The goal is not laboratory control; it is enough context to recognize that 'overnight in the fridge' may describe different conditions in different kitchens and on different days.
Plan the fermentation before refrigeration
Read the recipe's bulk and shaping instructions together with its cold stage. If a method expects the loaf to enter the refrigerator at a particular point, extending the warm phase and then retaining the same long cold phase changes the plan. Conversely, refrigerating a barely developed dough much earlier does not guarantee it will catch up simply because the next morning has arrived. Use the recipe's condition-based cues alongside its estimated timetable.
Make one short entry before chilling: the bulk endpoint observed, the shaping time, any room-temperature proof after shaping, and the dough's appearance in the basket. A photograph can supplement that entry but should not replace it. If the loaf later spreads during release, these notes help distinguish an excessively advanced warm phase from a very long cold stage or a basket-release accident. Without the entry, each explanation remains an unsupported guess.
Protect the surface and preserve room to expand
Prepare a clean, appropriate proofing support and cover it as the chosen recipe directs. A cover can limit drying, while some methods intentionally expose a surface differently for handling. Avoid letting a tight wrap press against a loaf that may expand into it. Consider both the top clearance and the basket's position relative to other food. The loaf needs physical protection as well as a place on a shelf.
Do not use a serving bowl's decorative cloth as proof that the dough is protected from refrigerator airflow. Inspect whether the actual cover suits the intended cold stage. If you repeatedly find a leathery surface, review that setup before increasing water in the dough. A surface problem and an overall hydration problem are not the same adjustment. Keep the basket preparation, liner, and cover consistent while learning what your refrigerator does to a familiar recipe.
Translate overnight into actual elapsed time
An illustrative loaf placed in the refrigerator at 21:00 and loaded into the oven at 09:00 spends 12 hours there. Move the loading time to 14:00 and the cold interval becomes 17 hours, an increase of five hours or about 42%. Neither value is a recommendation or a prediction of overproofing. The example simply shows how a casual phrase such as 'bake tomorrow' can hide a substantial change in the method.
Write the planned refrigerator entry and oven-loading time, then add the oven and vessel preparation required by the recipe and equipment manual. If your morning is uncertain, choose a method designed for that flexibility before mixing. Do not assume every dough can absorb an indefinite delay because another baker reports a very long proof. The flour, dough history, and refrigerator conditions behind that report may differ from yours in ways that matter.
Decide whether to bake directly from cold
Some recipes are explicitly designed for dough to move from refrigerator to oven. King Arthur's stiff-starter artisan loaf is one published example that permits loading a loaf on a stone or baking sheet directly from refrigeration. That is evidence for that method, not a universal instruction for every chilled dough. Other recipes require further proofing or a different loading sequence. Keep the actual recipe's instructions attached to the loaf you are making.
Before release, review what happened during the cold stage and whether the dough meets the method's readiness cues. If it appears poorly developed, consult the recipe's provision for further proofing instead of inventing a fixed warm-up period. If it is already fragile and highly expanded, leaving it on the counter solely to reach room temperature may not serve the dough. The next step should answer a condition question, not satisfy a rule detached from the formula.
Use readiness tests in their proper context
Cold dough can feel firmer than warm dough, so a finger indentation should not be interpreted without considering temperature. The Perfect Loaf presents the poke test in its discussion of warm proofing and distinguishes warm and cold schedules. Treat the loaf's expansion, surface condition, fermentation history, and recipe guidance as a group of observations. No isolated poke, clock reading, or photograph certifies a universal endpoint for all cold-proofed sourdough.
Avoid repeated deep pokes while waiting for a preferred response. If you need to learn a recipe's endpoint, preserve comparable notes from several bakes instead. Record what the loaf looked like before chilling, how it released, and how the scored dough behaved during loading. These observations connect the cold stage to the finished loaf more clearly than a single indentation made after the dough has already been handled several times.
Interpret sourness as an outcome, not a timer setting
Longer, cooler fermentation can affect flavor, and both The Perfect Loaf and Breadtopia discuss a tendency toward greater sourness with longer cold processes. The result is not an exact dial: a particular number of extra hours does not correspond to a fixed increase in acidity or a guaranteed preferred flavor. Starter history, flour, fermentation before chilling, and the complete method remain relevant. Describe what you taste without assigning an unmeasured pH value to it.
If flavor is the question, compare slices after similar cooling and storage, preferably with the same simple accompaniment or none at all. 'More sour than the previous loaf' is a relative judgment; 'better' depends on how you intend to eat the bread. A pronounced tang that suits toast may not suit every sandwich. Choose the cold-proof workflow for the combination of flavor, handling, and schedule that you actually value.
Investigate a loaf that spreads or loses height
First ask when the spread began. A loaf that tears while sticking to a basket has a release problem that may be separate from fermentation. A loaf that releases cleanly but immediately loses its structure raises a different question. Review its condition before refrigeration and the actual elapsed time. Do not diagnose every flat loaf as overproofed when weak shaping, excessive handling, or a changed flour blend could also have contributed.
For the next attempt, change one relevant part of a familiar process. If a longer unplanned delay was the main difference, return to the earlier schedule. If the refrigerator was warmer than usual, restore appropriate operation before adjusting the formula. If the dough already looked unusually advanced at shaping, review bulk first. This sequence keeps the corrective action connected to an observed departure rather than stacking several speculative changes onto one disappointing result.
| Observation | Check first | Keep separate |
|---|---|---|
| Little apparent development | Warm fermentation history and recipe cues | Elapsed cold hours alone |
| Dry, leathery exterior | Cover and refrigerator airflow | Overall formula hydration |
| Tearing during release | Basket preparation and sticking | A diagnosis of overproofing |
| Clean release followed by spreading | Dough condition, actual time, shaping history | A single-cause conclusion |
Plan two loaves when the oven handles only one
Two baskets entering the refrigerator together may not leave together. If the first loaf loads at 08:30 and the second at 09:30, the second receives an additional hour of cold storage if it stays chilled until loading. If both are removed at 08:30, it instead receives that hour in the kitchen. Those are different histories. Write which one the recipe expects, and keep the waiting loaf in the appropriate condition while preparing the next bake.
Also account for the baking vessel's turnaround. Follow its manufacturer's instructions for handling and reheating rather than rushing a hot pot through cooling and reloading. A side-by-side bread comparison is weakened when one loaf meets a fully prepared vessel and the other meets a different thermal setup. Record the sequence plainly. Home experiments do not have to be perfect, but the order of baking should not disappear from the explanation of the result.
Build a comparison around a useful decision
A practical question is whether a slightly earlier or later loading time works within your existing recipe, not whether the longest possible proof wins. Start from a successful schedule, document the intended change, and preserve the same dough formula and refrigerator setup. Compare handling on release, scoring ease, loaf shape, and flavor after cooling. These are proposed observations; they are not claims that Sourdough Bench has baked and measured the alternatives.
Keep the conclusion tied to the trial. You might find that the later loading time fits the morning with no noticeable downside, or that the loaf becomes harder to handle. Either result can guide your own routine without becoming a universal cold-proof limit. Retain the actual timestamps and conditions with the recipe. The next useful improvement is often a clearer plan for tomorrow morning, rather than a more elaborate formula or a colder-sounding technique name.
Sources & further reading
This guide combines published references with our own explanations and decision aids. Numerical examples are illustrative; they are not records of Sourdough Bench test bakes.
- King Arthur Baking — Can you refrigerate bread dough and bake it later?
- The Perfect Loaf — The Ultimate Guide to Proofing Bread Dough
- King Arthur Baking — Artisan Sourdough Bread made with a stiff starter
- Breadtopia — How do I make my sourdough bread more or less sour?
- FDA — Refrigerator Thermometers: Cold Facts about Food Safety
Put it into practice.
Keep the recipe, observations and next change together in your downloadable bake log. For a symptom-led starting point, use the loaf troubleshooting guide.