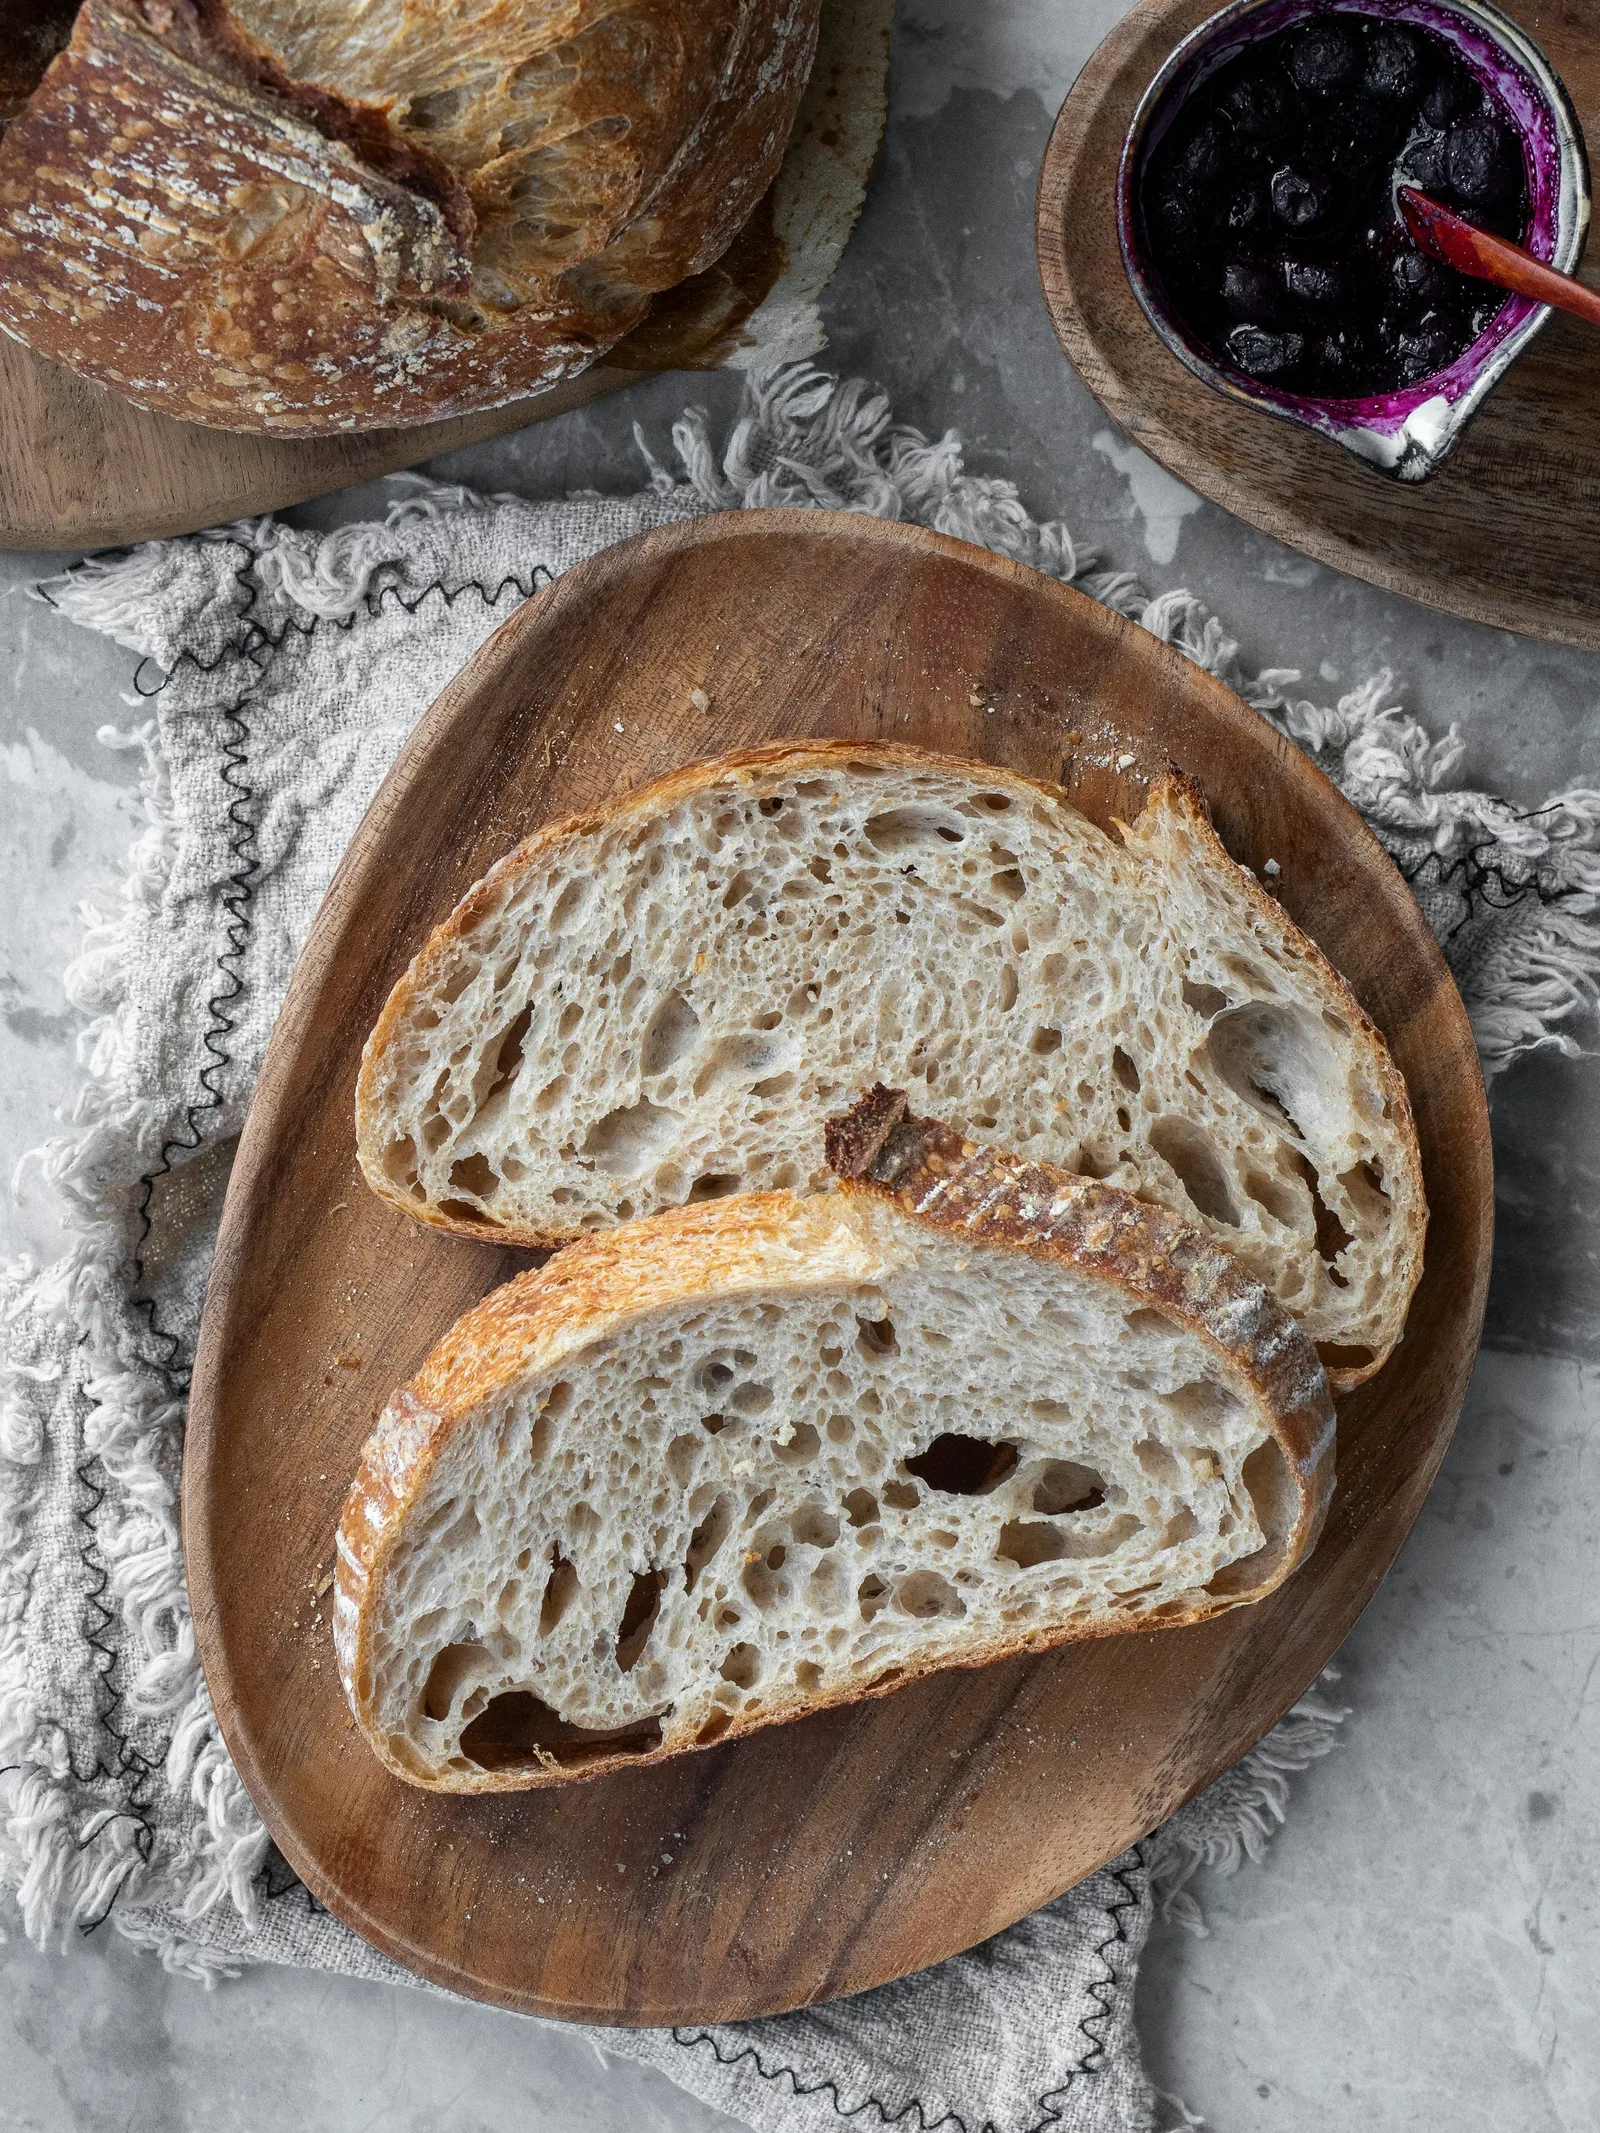
Cool plain sourdough fully on a rack, choose wrapping for the texture you want, and freeze excess bread in usable portions. Perishable fillings need their own refrigeration plan. Discard a moldy loaf instead of trimming it.
- Choose packaging around the next serving: retaining moisture usually softens a crisp crust.
- Freeze fully cooled plain bread in portions that match your meals.
- Follow refrigeration requirements for perishable fillings rather than treating them as plain bread.
- Storage dates help you organize food; they do not establish a universal safe shelf life.
Start with the bread you actually made
For a plain, fully baked sourdough loaf, the useful sequence is cooling, portioning, protecting, and freezing any surplus you do not expect to use soon. Decide whether the next serving should have a crisp crust or a soft sandwich texture. Those preferences lead to different packaging choices. A decorative bread bag is not a complete storage plan unless it also fits the loaf, your kitchen conditions, and the way your household eats bread.
First identify fillings and toppings. A flour, water, salt, and starter boule belongs in a different discussion from bread filled with custard, spread with cream cheese, or assembled into a meat sandwich. The word sourdough describes fermentation; it does not tell you the storage requirements of everything added afterward. Keep the recipe's specific storage instructions with the finished bread.
Cool a plain loaf where air can reach its base
King Arthur's sourdough storage guide recommends cooling crusty bread on a rack and waiting until it has cooled before slicing. Leave space around the loaf instead of resting its bottom against a solid tray. A large round and a small roll will not cool at the same rate, so a timer copied from another loaf is a poor way to decide when to package yours.
Plan this stage before baking. Clear a rack, choose a place away from splashes and raw ingredients, and leave enough room for every loaf in the batch. If the counter is crowded, move unused equipment before the bread comes out. A cooling plan is especially helpful when baking late: finishing the bake just before leaving home often creates pressure to wrap bread prematurely.
Choose a package for the next serving
Packaging involves a texture tradeoff. King Arthur explains that airtight wrapping helps retain moisture but softens a crusty loaf's exterior. A loose cover with air circulation can suit a plain loaf being served soon, while more protective wrapping favors a softer interior. There is no bag that preserves every feature of a just-baked crust indefinitely. Choose which characteristic matters most for the intended meal.
For example, a loaf destined for soup may be pleasant with a firm crust, while the same loaf used for breakfast sandwiches may be easier to eat after its crust softens. Write down that goal before comparing containers. Calling one bag the winner without naming the desired result can turn two perfectly different preferences into an apparent baking problem.
Use a decision table before putting bread away
Check the bread's present condition rather than applying one storage instruction to every loaf on the counter. The table separates ordinary cooling and texture choices from circumstances that require a food safety decision. It is a starting point for a household workflow, not a claim that all filled breads share one formula or that an unfilled loaf has a guaranteed room-temperature shelf life.
Keep the categories practical. If you cannot identify a filling or its storage directions, do not infer them from the crust. Ask for the recipe or package instructions. A photograph of a browned loaf cannot establish what is inside, how long it has been out, or whether it was properly handled. Those details matter more than how rustic the exterior looks.
| Bread or condition | First decision | Practical action |
|---|---|---|
| Warm, plain, fully baked loaf | It is still cooling | Use a clean rack; avoid sealing it while warm. |
| Cooled plain loaf for an upcoming meal | Choose crisp crust or softer eating texture | Select a cover or wrapping for that goal. |
| Cooled plain surplus | Decide useful serving sizes | Package portions airtight for freezing. |
| Bread with a perishable filling or topping | Follow the filling's safety requirements | Refrigerate promptly; keep its handling instructions. |
| Visible mold on bread | Discard, rather than trim | Dispose of the affected loaf and clean the storage area. |
Divide the loaf around real meals
Consider a hypothetical cooled 900 g plain loaf. If today's meal needs 150 g, the remaining 750 g does not all need to stay on the counter. You could divide that remainder into five 150 g portions for the freezer. The arithmetic describes serving sizes only; it does not predict how long any portion will remain fresh or how many calories it contains.
Choose portions that someone will actually use. Two sandwich slices, one thick toast slice, or a piece large enough for a shared meal may be more convenient than identical weights. Labeling the intended use can help: toast, sandwiches, or dinner. Keeping an oversized loaf intact for an imagined occasion often makes it less useful than smaller packages matched to a normal routine.
Freeze cooled bread in usable portions
King Arthur's freezing guide advises cooling bread fully before freezing and wrapping it airtight. Trapping steam from a hot loaf creates condensation. For sliced bread, separate portions so that retrieving breakfast does not require thawing the whole loaf. Suitable food-storage packaging should close properly around the bread rather than leaving a large open gap beside an irregular crust.
Make the package easy to understand later. Record the bread name, bake or freezing date, and whether it contains additions. A bag marked only bread is surprisingly unhelpful when several different loaves share a freezer. Date labels support stock rotation and memory; they are not a laboratory-tested expiry date. If freezer space is limited, plan the package shape before baking a second oversized boule.
Match whole loaves and slices to different uses
A whole loaf gives you flexibility about slice thickness and a complete centerpiece for a meal. Precut portions give you more control over how much you remove at once. Neither arrangement is automatically better. Consider whether your next use requires the appearance of an intact loaf or simply one serving that can go into a toaster without a separate slicing session.
A useful household comparison is to freeze one small section whole and another as slices, with the same packaging material and date. Later, compare preparation effort, portion suitability, and the texture you prefer. This is a suggested experiment, not a result from Sourdough Bench testing. Keep the comparison within ordinary safe handling and use it to choose a convenient format, not to discover a supposed maximum safe storage period.
Reheat only what you intend to serve
For plain bread, King Arthur describes thawing at room temperature and toasting individual slices from frozen. Use an appliance and setting appropriate to the portion, and check the bread rather than copying a time intended for another size. A thick heel and a thin slice behave differently. Remove packaging that is not approved for heating before putting food into an oven or toaster.
Treat reheating as part of serving, not as a way to erase storage history. If the original complaint is a hard crust, reheating every slice aggressively may work against your goal. Try a single portion first and stop when its texture suits the meal. If bread has spoilage or a safety problem, making it warm, dry, or pleasantly scented does not turn it into an acceptable leftover.
Give perishable fillings their own storage plan
FDA guidance says foods requiring refrigeration should be refrigerated promptly and should not remain at room temperature for more than two hours, or one hour when the air is above 90°F. Keep the refrigerator at or below 40°F, which is 4°C. Apply those limits to perishable fillings and assembled foods; do not transfer an overnight plain-boule cooling habit to a cream-filled loaf or meat sandwich.
Milk or eggs baked into a bread formula do not, by their names alone, define the finished loaf's storage method. A wet custard filling and an enriched bread dough are different products. Likewise, a commercial shelf-stable filling may have instructions different from a homemade version. Use the complete recipe and ingredient directions instead of classifying every bread containing the word cheese or milk in exactly the same way.
Let safety requirements decide when refrigeration is necessary
King Arthur's bread storage advice favors freezing plain bread for longer storage because refrigeration can harm its eating quality. That quality preference does not override the need to keep a perishable filling cold. If choosing between a crisper crust and appropriate refrigeration for a filled bread, follow the filling's safety requirements. The crust can be considered again when you plan how to serve it.
Separate components when that makes the meal easier. You might freeze portions of plain bread and prepare a refrigerated topping separately, combining them when served. This is a planning option rather than a rule for every recipe. It also makes the remaining food easier to identify: one package is plain bread, while the other has the storage directions and handling history of its own ingredients.
Recognize spoilage without trying to rescue it
USDA advises discarding moldy bread and baked goods because their porous structure can be contaminated below the visible surface. Do not cut away the spot and eat the remainder of the loaf. Do not sniff mold closely. Dispose of the affected bread and clean its storage area before putting fresh bread there. Reheating or toasting is not a substitute for that decision.
Keep this separate from ordinary staling. A plain loaf that has become dry presents a texture question; a loaf with mold presents a discard decision. For perishable fillings, a normal appearance is also insufficient to establish safety after mishandling. FDA emphasizes that harmful contamination need not change a food's smell or appearance. Use handling history as well as visible condition when deciding what to keep.
Diagnose a storage problem from its timing
Imagine a plain loaf that sliced cleanly after cooling but developed a very firm crust after sitting loosely covered. Before adjusting fermentation, note when the texture changed and what enclosure was used. The next trial could change only the packaging after cooling. Compare the bread at the same stage after baking, with similar portion sizes, so that storage is the main difference being examined.
Now imagine another loaf that was gummy at the center immediately after the first fully cooled cut. Changing the bread bag will not explain that earlier condition. Return to cooling, baking, loaf size, and fermentation records. Storage troubleshooting works best when you establish whether the problem existed before storage began. Otherwise an attractive new container can become an expensive answer to a question it cannot resolve.
Send useful information with a gifted loaf
A simple note can include the bread's name, ingredients, bake date, whether it has been frozen, and the storage instructions appropriate to its recipe. Tell the recipient if the package contains individual portions or a whole loaf. This reduces guessing without claiming an expiry date that has not been established. A plain loaf and a loaf with a refrigerated filling should arrive with clearly different instructions.
Think about transport as part of that plan. A bread bag suitable for an unfilled boule does not provide cold storage for a perishable sandwich. Organize any required chilling and timing before adding the filling, particularly when the recipient will not eat it immediately. Giving someone a loaf should also give them enough information to decide where it belongs when they get home.
Build a storage routine you can repeat
For the next bake, write a short sequence: identify the bread, prepare its cooling space, decide the first serving, divide the surplus, package it, and label it. Leave a place in the bake log for the first slice's condition and the texture after storage. That separates baking performance from later changes and makes the next adjustment more specific than the bread went stale.
Choose one small improvement at a time. If unused slices repeatedly accumulate, change portion size. If packaging causes inconvenience, change the package. If a loaf is already difficult to slice when cool, consult the crust or gummy-crumb guide before blaming storage. A useful routine ends with bread that fits your meals and clear handling decisions, rather than an unverified promise that every sourdough loaf lasts the same number of days.
Sources & further reading
This guide combines published references with our own explanations and decision aids. Numerical examples are illustrative; they are not records of Sourdough Bench test bakes.
Put it into practice.
Keep the recipe, observations and next change together in your downloadable bake log. For a symptom-led starting point, use the loaf troubleshooting guide.