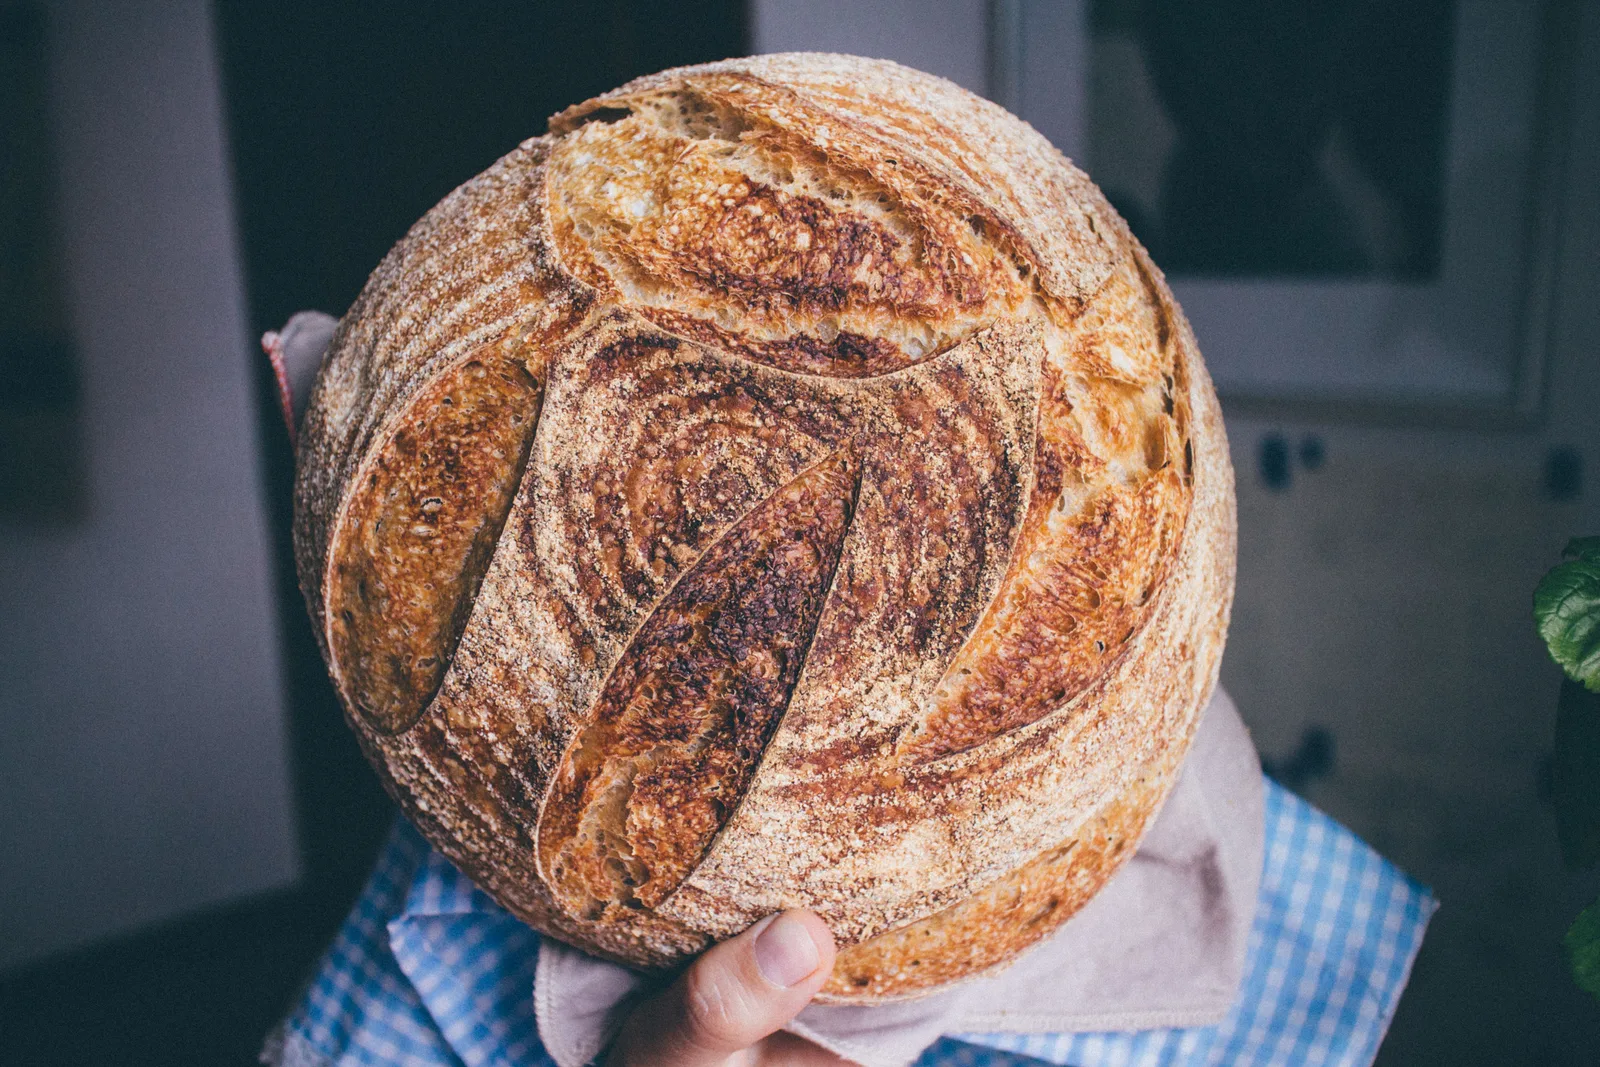
First decide whether the crust was too hard after cooling or became hard during storage. Check the full baking and drying sequence for a thick fresh crust; check packaging for a loaf that hardened later. Keep the interior fully baked while testing one change.
- Distinguish crisp, thick, and tough instead of using hard for every texture.
- Inspect the base and sides as well as the top.
- Record covered, uncovered, and optional drying stages separately.
- Match the recipe and storage method to the crust you actually enjoy.
Describe the crust you want to change
A crisp crust breaks cleanly; a tough crust resists the knife or chewing; a thick crust forms a substantial dry layer around the crumb. Those descriptions are more useful than hard because they suggest different comparisons. Also note whether the problem affects the top, base, or entire loaf, and whether it appeared when fresh or only after storage.
Choose an eating goal before adjusting the bake. A thin, crackly country loaf and a soft sandwich loaf are different products. If you want a crust that bends easily, consider a recipe designed for that texture. Removing a lean sourdough early just to keep its surface soft can leave you with an inadequately baked interior rather than the bread you intended.
Judge the loaf after it has cooled
A crusty loaf can feel very firm immediately after leaving the oven. King Arthur's doneness guidance describes that firmness as normal for this style, so the first hot squeeze should not become your final verdict. Let the loaf complete its normal cooling, then assess a representative slice with a suitable bread knife and a stable cutting board.
Keep the knife and technique consistent when comparing bakes. Use a sawing motion rather than pressing down hard enough to crush the crumb. Note whether the resistance comes from the base, a thick sidewall, or simply a large score ridge. A blunt knife can make an acceptable loaf feel difficult to cut, but a better knife does not change the crust's actual thickness.
Separate a fresh-bake problem from a storage problem
If the loaf was pleasant when fresh and became hard later, investigate storage before redesigning fermentation. If the crust was already too thick at the first cooled slice, examine the baking process. Save a short note at each stage: fresh cooled crust, texture after wrapping, and texture when served later. The sequence locates the change more clearly than a photograph alone.
Compare similar parts of the loaf. An exposed heel and a protected central slice have different positions and cannot stand in for each other. If one half sat uncovered while the other was wrapped, write that down. The contrast can be informative, but it is a storage comparison rather than evidence that one side of the dough fermented better than the other.
| When or where the crust is hard | First check | Next comparison |
|---|---|---|
| Only while the loaf is very hot | Normal firmness of crusty bread | Assess after the intended cooling period |
| Entire shell thick at first cooled slice | Total bake and extra drying stages | Keep the full bake; remove optional extra drying first |
| Base much harder than the top | Rack, vessel, and bottom heat exposure | Return to the recipe’s intended setup |
| Acceptable fresh, tough after storage | Packaging and exposed cut surfaces | Change storage while keeping the bake constant |
| Crusty style always feels too firm | Whether the recipe matches the eating goal | Try a tested soft sourdough format |
Check whether the formula matches the desired texture
King Arthur's crusty-bread guidance distinguishes lean breads from soft enriched breads. Ingredients and loaf style set expectations before the oven is involved. A flour-water-salt sourdough is a sensible starting point for a crusty loaf, while a soft sandwich formula is designed around a different result. Neither is a superior version of the other; they serve different preferences.
Do not add milk, butter, oil, and sugar to an established formula all at once while also shortening the bake. That creates a new bread with several unknown changes. If softness is the main goal, start from a tested soft sourdough recipe and follow its method. If you like the existing crumb, investigate the crust process while keeping the ingredient list stable.
Inspect the entire exterior
Turn the cooled loaf so you can compare top, sides, and bottom in the same light. A very dark, thick base beneath a reasonable top suggests a different heat-exposure question from an evenly dry shell. Photograph the underside; it is often the least documented surface. Record the vessel material, rack position, and any stone or steel used below it.
Compare that setup with the recipe and the equipment's instructions. If your base is the clear outlier, choose one permitted setup adjustment for the next bake, such as the recipe's intended rack position. Do not simultaneously change pot, oven mode, temperature, and loaf weight. The result would tell you little about which part of the previous setup created the uneven crust.
Make the covered and uncovered stages explicit
Steam management influences crust formation. King Arthur's steam guide describes trapping the loaf's own moisture in a covered baking vessel, then allowing a later uncovered stage. Record those stages separately. A note that says baked for forty minutes hides whether the lid stayed on throughout, came off very early, or was repeatedly lifted to check the loaf.
Use a tested sequence for your loaf and equipment rather than adding steam continuously because the crust seemed hard. The covered stage and the drying stage have different purposes. If the final uncovered period was extended far beyond the recipe, investigate that first. If steam was absent from a method that expected it, restore the intended setup before inventing a new temperature schedule.
Avoid improvising water around hot equipment
For a covered method, use a vessel rated for the recipe's temperature and preheating instructions. King Arthur's Dutch oven discussion notes that some vessels cannot tolerate being heated empty. The useful correction is to match the equipment to the method, including its lid and handles, rather than assuming every heavy pot can perform the same bake.
If you use a steam method, follow the oven and vessel guidance instead of pouring water onto an oven floor, glass door, or unfamiliar hot surface. Have dry protection and a clear place for the hot lid before opening it. Keeping the procedure repeatable also improves diagnosis: a consistent covered bake is easier to compare than a different improvised steam arrangement every weekend.
Do not bake toward color alone
Crust color is valuable evidence, but it does not describe thickness or the center by itself. A photograph can also make the same brown appear darker under warm light. Judge the actual cooled loaf and use your recipe's full doneness guidance. If you continue baking solely to match a deeply colored social-media image, you may overshoot your preferred texture.
When testing a baking adjustment, preserve loaf size and use the same light for photographs. Record the point when the recipe's doneness cues were met and any additional drying period. You can then decide whether that extra stage improved the crust you wanted. Avoid reducing the bake so far that a softer exterior simply accompanies an uncertain or pasty interior.
Measure crust thickness where it matters
Use a central slice to distinguish a tall score ridge from a generally thick shell. Look at the base and both sides as well as the top. If useful, place a ruler beside the slice for the photograph, but do not report a precise average from one point. Crust thickness varies around the loaf, and the comparison should acknowledge that variation.
An original scorecard can use three descriptions: thin and crisp, thick but pleasant, or tough and difficult to eat. Add separate notes for the base and the sides. This is a preference record, not a scientific instrument. Its value comes from consistent use, particularly when two loaves have similar color but noticeably different slicing resistance or chewing texture.
Consider loaf shape before copying a baking time
A long narrow loaf has a different balance of crust and crumb from a large round loaf. King Arthur's crusty-bread guide discusses how shape changes that balance. If you divide one boule into several smaller pieces but keep its full baking schedule, you have changed the geometry without changing the process. The resulting crust should not be blamed automatically on starter acidity.
To make the next comparison useful, return to the recipe's portion size or use a method written for the new shape. Record the dough weight of each piece before baking. If the household prefers more soft interior per serving, a larger-format or pan loaf may suit the goal better than thin rolls, even when all versions use a similar base dough.
Protect a cooled loaf according to how it will be served
King Arthur's bread-storage discussion explains the tradeoff between retaining moisture and preserving a crisp crust. Wrapping tends to soften the crust, while breathable storage allows more drying. If the complaint is an increasingly tough loaf after storage, the practical question is how much bread needs to stay out and how much could be portioned for freezing instead.
Do not wrap a hot plain loaf tightly just to force the crust to soften. Allow its normal cooling first, then choose storage for the intended serving plan. Write the packaging and storage conditions into the bake record. A loaf left exposed in a dry room should not be compared with one wrapped after cooling as though baking time were their only difference.
Refresh only the portion you want to serve
If a properly stored, fully baked loaf has merely lost its preferred texture, reheating a small serving is a way to evaluate a refresh without drying the entire loaf again. Follow a suitable bread-refresh method and check the result while serving. Repeatedly heating and cooling the whole loaf makes the later texture difficult to compare with its original condition.
Refresh is not a remedy for spoilage: discard moldy bread. For filled breads, use the storage and reheating instructions appropriate to the filling rather than treating the item as a plain crusty loaf. Keep quality and safety decisions separate. A serving method can improve enjoyment of sound bread, but it cannot establish that an uncertain storage history was acceptable.
A worked comparison for a thick fresh crust
Imagine a plain loaf whose crumb is satisfactory but whose entire cooled shell is unpleasantly thick. The record shows a complete recipe bake followed by an additional drying period in the switched-off oven. The most direct next trial keeps the dough, vessel, and full bake the same but omits that optional extra drying stage and cools as the recipe directs.
This comparison does not promise a thin crust. It tests whether an identifiable additional stage contributed to the unwanted result. Photograph central slices and compare the base and sidewalls at the same cooling point. If the difference is small, you can investigate the uncovered baking stage next. Changing hydration and fermentation in the first trial would make the result less informative.
A worked comparison for a hard stored crust
Now imagine a loaf that cut well after cooling but became difficult to eat after sitting in a cloth bag. The next bake need not have a shorter fermentation or a colder oven. Keep the bread method and change the serving plan: protect the cooled portion intended for near-term use and freeze the remainder in practical portions rather than leaving the whole loaf exposed.
Compare texture when the bread is actually served, not just when it leaves the oven. Note whether the chosen packaging softened the crust more than you prefer and whether a brief refresh of one portion gave a better balance. Your successful method is the combination of a sound bake and suitable storage. That is a more useful endpoint than simply making the freshest crust as soft as possible.
Sources & further reading
This guide combines published references with our own explanations and decision aids. Numerical examples are illustrative; they are not records of Sourdough Bench test bakes.
- How to make crusty bread — King Arthur Baking
- How to tell if bread is done baking — King Arthur Baking
- A guide to baking bread with steam at home — King Arthur Baking
- Bread baking in a Dutch oven — King Arthur Baking
- 7 tips for the very best bread crust — King Arthur Baking
- The best way to store yeast bread — King Arthur Baking
- Molds on Food: Are They Dangerous? — USDA FSIS
Put it into practice.
Keep the recipe, observations and next change together in your downloadable bake log. For a symptom-led starting point, use the loaf troubleshooting guide.